I really thought this toy looked like amazing fun! I saw many, many versions of this little toy on natural and montessori sights. I decided to have a go at it with a few fun experiments of my own. The cylinder rolls, rattles, and provides lots of ability to grasp. It is perfect for a little one to crawl after. It also allows them to practice holding onto something. And of course, if it didn't make noise it wouldn't be quite as important to them!
 |
| The finished Rolling Cylinder with Natural Dyed Balls! |
So, the above picture of how mine turned out. Now for instructions on how I did it.
First, I started with 4" round mounting boards from the craft store. You can use ones without the decorative edging, but I like the look of these. Dowels from the craft store come in various sizes. I bought a couple sizes. These are 3/8". Lastly, a few wooden balls are needed. I ended up adding one more than the picture below for a total of four balls. These are 1".
 |
| The Materials |


1. Trace the circle onto paper and cut it out.

2. Fold it in half.


3. Line up the first folded lines and fold it in half the opposite direction. This creates four "pie" slices as seen above.


4. Then, lining up the four lines, fold it again.

5. I repeated this the opposite direction resulting in eight "pie" pieces perfectly divided.
6. Next, as seen above, I marked with a pencil 1/2" in on every line. At each mark, I shoved the pencil point through to make a tiny hole.


7. Place the template on your wood disc and mark with a pencil through each half inch hole. (mine here has 16 marks because the original was going though a knot and I moved the marks over)

8. Using a 3/8" drill bit I drilled about 1/4" down into the wood disc for each of my marks. You can mark your drill bit with a bit of colored tape for a guide on depth.


9. Dying the wooded balls came next. I could have painted them, but what's the fun in that when you can experiment with making natural dye?!
Green: I used spinach at first, but that didn't do very dark for me. Maybe, I was missing a step or something. A bunch of weed leaves outside did wonderfully. I just rubbed them vigorously against the ball.
Red: Cooked beet skins. I had some cooked cold beets my mother-in-law had given me. I rubbed the skins all over the ball. The main part made a beautiful and yummy salad!


Blue: Blueberries cooked down and rubbed into the grain made a beautiful hue though it is slightly more purple than blue.
Yellow: My favorite yellow dye is tumeric. I boil water with some tumeric and vinegar in it. Then, I soaked the ball. Since doing this ball though, I have come up with a WAY better method. Take your tumeric(I never measure), water, and vinegar and boil until thick. The paste can be rubbed into the wood and solved the possible problem of expanding and cracking your wooded ball or whatever else you're dyeing.

The Beautiful balls! I rubbed them with olive oil after they were completely dry.
10. Assembly requires more patience than I thought. A little glue and a hammer for tapping help a lot! Try getting all the dowels into one side first, and then slowly and carefully lining up the top. It helps to do this at an angle because the balls inside your "cage" work against you. Keeping the balls in a straight line is important during assembly. Sorry, but I was way too occupied with my assembly to remember to take a photo of this.
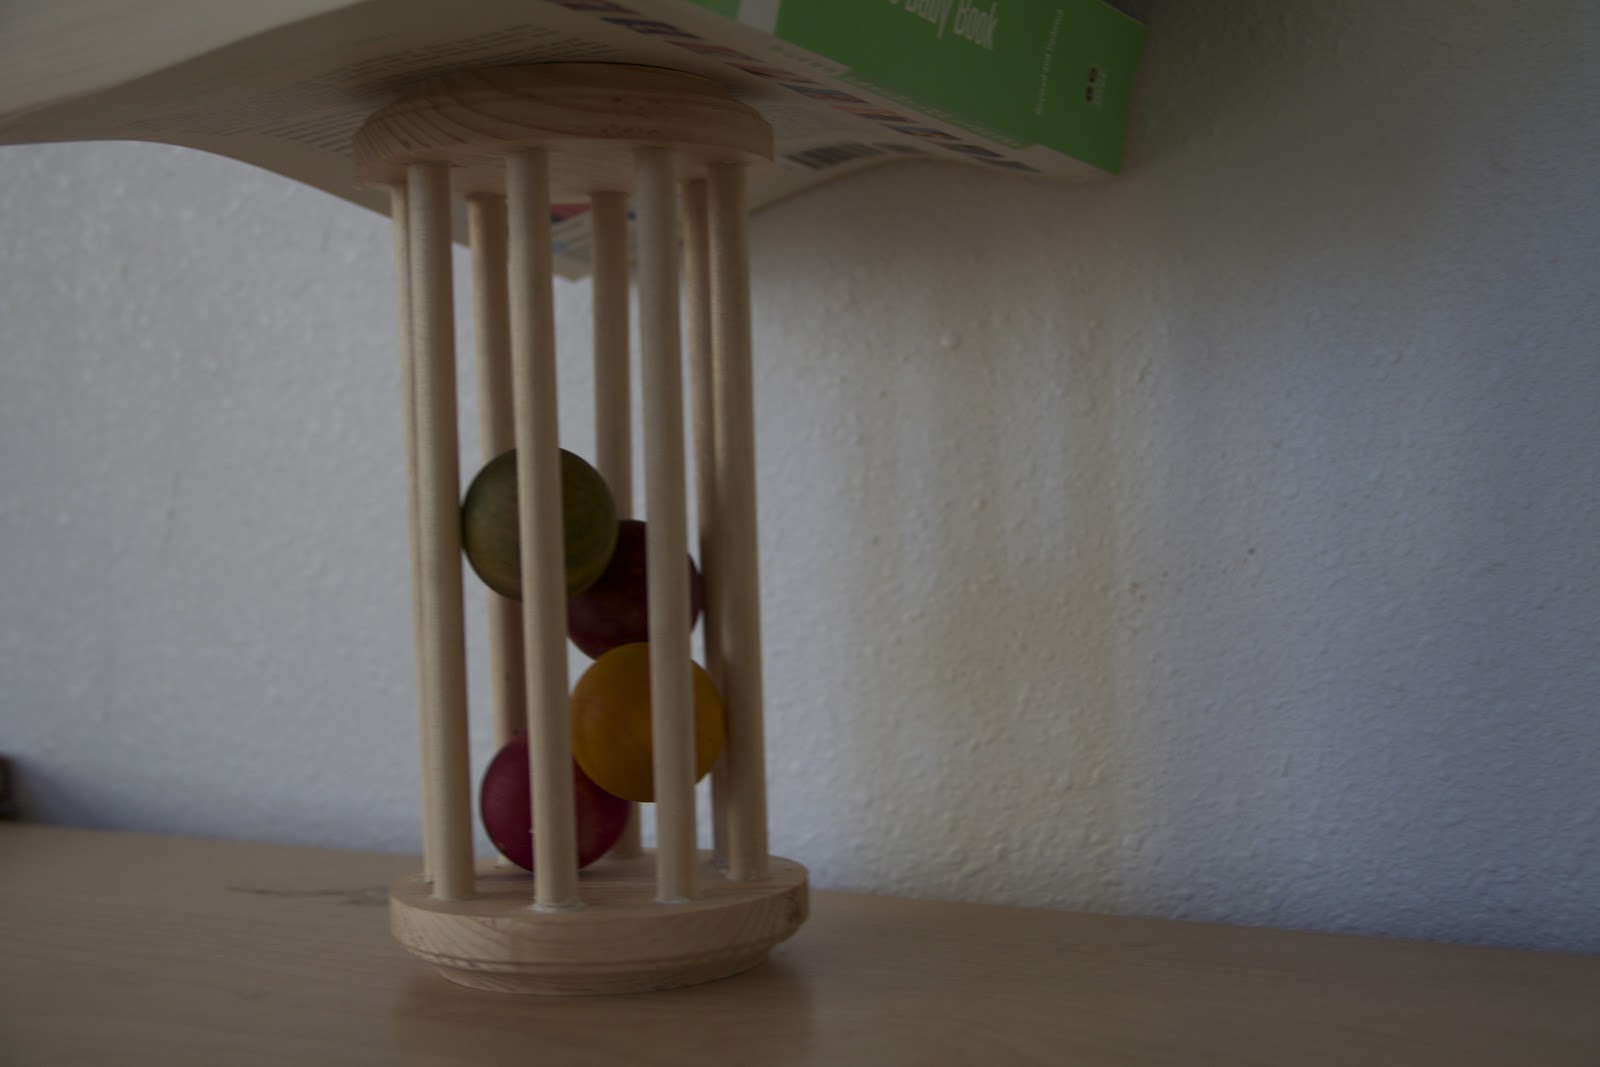
11. Lastly, I let it set overnight with books on top so the glue would dry. The next morning a quick coat of olive oil and the project was complete!


Nice blog! I read your article. I really like all the points that you mentioned are interesting and helpful. Thank you for sharing this blog.
ReplyDeleteMontessori Stamp Game Paper (15 Problems)